
Checking Your Own Fluid Levels Without Getting It Wrong
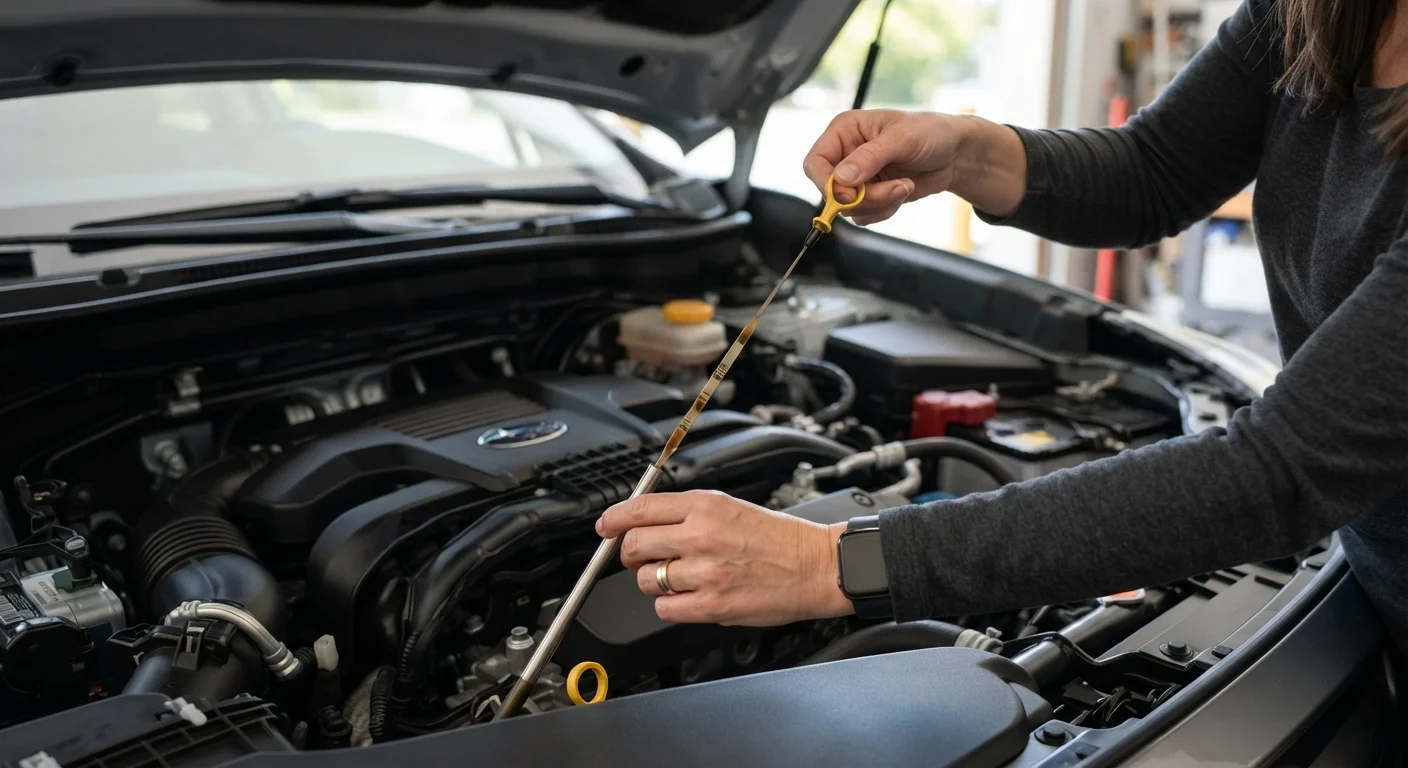
Photo credit: SkripTee.com | Search. Explore. Learn.
In this article
Engine oil, coolant, brake fluid, and more — a straightforward guide to locating, reading, and topping up your vehicle's essential fluids safely.
Key Takeaways
- Always check fluids on a cold engine parked on level ground for accurate readings.
- Engine oil, coolant, brake fluid, power steering fluid, and washer fluid each have dedicated reservoirs.
- Never open the coolant reservoir cap when the engine is hot - pressure buildup can cause serious burns.
- Your owner's manual specifies the exact fluid grades and capacities your vehicle requires.
- Consistently low fluid levels may signal a leak requiring professional diagnosis.
Why Fluid Checks Matter More Than Most Drivers Realize
Modern vehicles are reliable enough that it's easy to go weeks without thinking about what's happening under the hood. But the fluids circulating through your engine, brakes, and cooling system are actively protecting components that cost thousands of dollars to replace. Running low on engine oil - even briefly - can cause accelerated wear or catastrophic engine damage. Low brake fluid may point to a leak in a safety-critical system.
The good news: checking your vehicle's essential fluids takes about 15 minutes and requires no mechanical training. It's one of the most straightforward things you can do to extend your vehicle's life and catch problems before they become expensive. If you're planning a long journey, fluid checks are a core part of the pre-long-drive vehicle check every driver should complete beforehand.
For newer drivers establishing good habits, these checks fit naturally into the broader routines covered in our guide to car maintenance for new drivers.
Use Your Owner's Manual as Your First Stop
Fluid specifications vary significantly between vehicles. The correct oil viscosity, coolant type, and brake fluid grade for your car are listed in your owner's manual - not on the fluid bottle. See our guide to using your owner's manual to get the most from this often-ignored resource.
What You'll Need Before You Start
Before lifting the hood, gather a few basics. The single most important resource is your owner's manual - fluid specifications vary by make, model, and model year, and using the wrong grade can cause more harm than running slightly low.
What you will need
Lint-free rag or paper towels
Wiping dipsticks clean before and after reading oil level.
Flashlight or work light
Illuminating the engine bay to locate reservoirs and read markings clearly.
Owner's manual
Identifying correct fluid types, reservoir locations, and fill specifications for your specific vehicle.
Funnel
Adding fluid to reservoirs with narrow openings without spilling.
Not sure whether a fluid-related job is within your ability? Our balanced look at DIY car maintenance versus taking it to a mechanic can help you decide where to draw the line.
Step-by-Step: How to Check Each Fluid
Work through the checks in order - oil first, then coolant, brake fluid, power steering, and finally washer fluid. This sequence moves from the most critical systems to the least.
Prepare the vehicle
Park on a flat, level surface and switch the engine off. For oil and coolant checks, allow the engine to cool for at least 30 minutes - heat causes fluids to expand and gives misleading readings. Open the hood and secure it with the prop rod if your vehicle doesn't have an automatic stay.
Check the engine oil
Locate the oil dipstick - it typically has a brightly colored handle (yellow or orange) and is marked with an oil-drop symbol. Pull it out fully, wipe it clean with your rag, reinsert it all the way, then withdraw it again. Read the oil level where the film ends against the MIN and MAX markings. The level should sit between the two marks. If it's below MIN, add the grade specified in your owner's manual in small increments, rechecking as you go.
Check the coolant level
The coolant reservoir is a translucent plastic tank, usually located near the radiator and marked with MIN and MAX lines on the outside. You can read the level without opening it. If the level is below MIN on a cold engine, add the correct coolant mixture (typically a 50/50 distilled water and antifreeze blend - your manual will confirm). Never add plain tap water as a permanent fix; it reduces the boiling point and can promote corrosion.
Check the brake fluid
The brake fluid reservoir is a small, semi-translucent plastic container near the firewall on the driver's side, connected to the brake master cylinder. It has MIN and MAX markings visible from the outside. Brake fluid naturally darkens with age and moisture absorption - very dark fluid may indicate it's time for a professional flush, which is not a DIY task. If the level is low, use only the fluid grade printed on the reservoir cap (typically DOT 3, DOT 4, or DOT 5.1).
Check the power steering fluid (if applicable)
Many modern vehicles use electric power steering and have no fluid to check. If your vehicle has hydraulic power steering, locate the reservoir - usually marked with a steering wheel icon. It may have a dipstick attached to the cap or external MIN/MAX markings. Check when cold for most vehicles, though some specify checking when warm; your manual will clarify. Top up with the manufacturer-specified fluid only.
Check the windshield washer fluid
This is the simplest check: the washer fluid reservoir is a large, often blue-capped tank. It doesn't need to be checked cold or warm. Fill it with purpose-made washer fluid rather than plain water, which can freeze in cold climates and doesn't cut through road grime or insect residue effectively. The reservoir typically has a MAX line - don't overfill.
Never Open a Hot Coolant Cap
The cooling system operates under pressure. Opening the radiator cap or coolant reservoir cap on a warm or hot engine can release scalding steam and liquid. Always wait at least 30 minutes after switching off the engine before handling any coolant components.
Repeatedly Low Fluid Could Mean a Leak
If you find yourself topping up the same fluid frequently, that fluid is going somewhere - and it may not simply be normal consumption. Brake fluid in particular should not decrease significantly over time. Have a qualified mechanic inspect the system if levels keep dropping.
Reading the Results and Knowing When to Seek Help
A single low reading on a fluid you haven't checked in months is usually not cause for alarm - top it up with the correct fluid and monitor it over the next few weeks. What warrants professional attention is a pattern: fluid that drops repeatedly between checks, fluid that looks contaminated (milky coolant, for example, can indicate a head gasket issue), or brake fluid that is consistently low without an obvious explanation such as recent brake pad replacement.
Fluid checks are also a good moment to do a quick visual scan of the engine bay for any obvious drips, wet patches, or discoloration on hoses and connections. These visual cues are often the earliest indication of a developing problem. For a broader look at keeping your tyres and other components in good shape alongside your fluid routine, see our guide to tyre maintenance from the ground up.
If you're ever uncertain about what you're seeing, a qualified mechanic can inspect the vehicle quickly - early professional input is nearly always cheaper than delayed repairs. For general guidance on driving safely and maintaining your vehicle, the Safe Driving hub is a useful ongoing resource.

Author
Autos Editorial Team
Autos Editorial Team is the collective byline for our editorial team and contributor network. Articles published under this byline or an editorial pen name are researched, written, and reviewed according to our editorial standards for clarity, consistency, and independence before publication.
View all articles →