
Before You Sign: A Pre-Lease Inspection Checklist
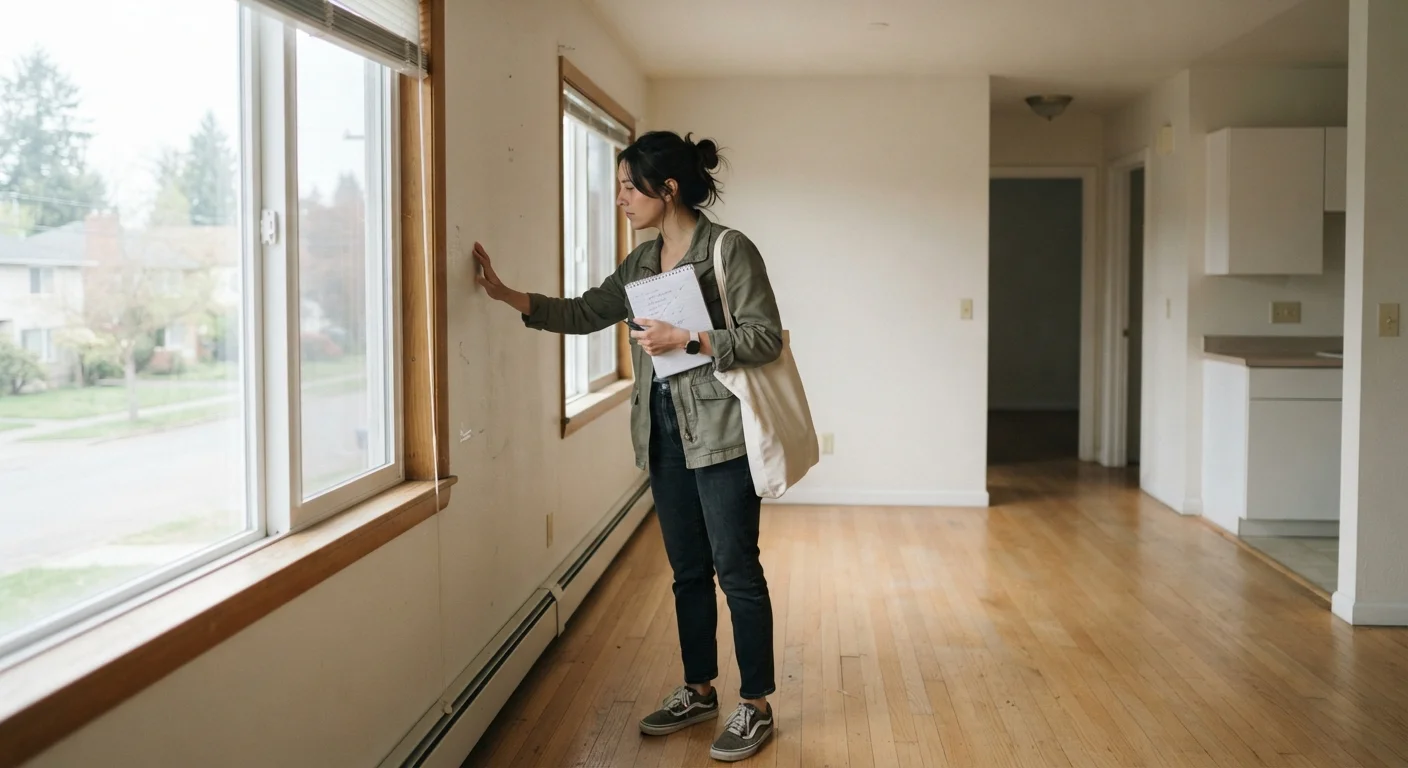
Photo credit: SkripTee.com | Search. Explore. Learn.
In this article
Room-by-room checks to carry out before signing a lease — documenting existing damage and spotting red flags early.
Key Takeaways
- Document every pre-existing defect in writing and with photos before you sign anything.
- A thorough inspection now can prevent wrongful security deposit deductions when you move out.
- Test every fixture, appliance, outlet, and lock during your walkthrough - not after move-in.
- Request that any agreed repairs be written into the lease or a separate addendum before signing.
- Spot red flags early: water stains, pest evidence, and non-functioning safety devices are serious concerns.
Why This Inspection Matters Before You Sign
A pre-lease inspection is one of the most protective steps a renter can take - and one of the most commonly skipped. The walkthrough you do before signing a lease establishes a clear baseline: the documented condition of the property at the moment it becomes your responsibility. Without that baseline, any damage that existed before your tenancy can potentially be billed to you when you move out.
Security deposits are the most obvious financial stake. In many states, landlords are permitted to deduct the cost of repairs from a deposit if they can claim the damage occurred during the tenancy. A renter without documentation has little to counter that claim with. But the inspection also serves a second purpose: it helps you decide whether this is a property worth renting at all.
Red flags in rental listings and showings often become visible only when you're standing inside the unit - not in listing photos. A thorough walkthrough gives you the chance to spot serious issues and raise them with the landlord before you're legally bound to the lease.
If you're approaching your first rental, what first-time renters often don't know before they start includes how critical this step is for protecting yourself financially from day one.
Smartphone with camera
Capture date-stamped photos and video of every defect for your documentation file.
Portable phone charger or small plug-in device
Test every electrical outlet quickly during the walkthrough.
Printed or digital move-in condition form
Record defect locations systematically so nothing is missed and your notes are organized.
Flashlight
Illuminate dark corners, under-sink cabinets, and closets where defects are easy to miss.
Notepad and pen
Jot questions and observations in real time when you want a backup to digital notes.
Room-by-Room Inspection Checklist
Work through each area of the unit systematically. Don't rush - 30 to 60 minutes on-site is a reasonable investment when your deposit and peace of mind are on the line. Use your phone to photograph every defect as you go, and make sure photos include recognizable context so the location is clear.
Before You Walk In
Walls, Floors & Ceilings
Kitchen
Bathrooms
Electrical, Plumbing & HVAC
Safety Devices & Security
Exterior & Common Areas
After the Walkthrough
Never Skip the Written Documentation Step
Verbal agreements with a landlord about pre-existing damage carry little legal weight. Without a signed, dated move-in condition form backed by photographic evidence, you have limited recourse if deductions are made from your security deposit at move-out. Most states require landlords to provide an itemized list of deductions, but disputes are far easier to win when your documentation is thorough and timestamped.
Pest or Mold Evidence Is a Serious Red Flag
Droppings, gnaw marks, dead insects, musty odors, or visible black mold are not minor cosmetic issues. These conditions can affect your health, your belongings, and your legal rights as a tenant. If you observe any of these signs, ask directly about prior treatment history and get any remediation commitments in writing before you sign.
What to Do With Your Findings
Completing the walkthrough is only half the job. Your findings need to be formally documented and submitted to your landlord in a way that creates a paper trail. Most landlords will provide a move-in condition form - if yours doesn't, create your own organized list of every defect noted, keyed to the photos you've taken.
Submit Your Condition Form Within the Required Window
Many states have a legally defined deadline - often 5 to 7 days after move-in - for tenants to submit a move-in condition report. Missing this window can waive your ability to dispute security deposit deductions related to pre-existing damage. Check your state's landlord-tenant law or consult a local tenant resource center to confirm the deadline that applies to you.
Once your documentation is complete, share it with your landlord in writing - email is preferable because it creates an automatic date and delivery record. Ask for written acknowledgment. For any repairs the landlord promises to make, push to have those commitments included as an addendum to your lease rather than relying on a verbal agreement.
Understanding what your lease actually says is equally important. Lease clauses explained in plain language can help you identify terms around repairs, habitability, and move-out conditions before you sign. And once you're a tenant, habits that protect you when communicating with your landlord - including how to document repair requests in writing - will serve you throughout the tenancy.
This article is for general informational purposes only and does not constitute legal advice. Landlord-tenant laws vary significantly by state and locality. Consult a qualified attorney or local tenant resource organization for guidance specific to your situation.

Author
Real Estate Editorial Team
Real Estate Editorial Team is the collective byline for our editorial team and contributor network. Articles published under this byline or an editorial pen name are researched, written, and reviewed according to our editorial standards for clarity, consistency, and independence before publication.
View all articles →